![]()
Home
Starband
Residential
Telecommuter
Small Office
Starband Pics
Contact Us
Cable
Connections
Need Help?
Click Here!
Already have Starband equipment and need service? Click here.
There are a lot of people asking what the Starband dish looks like and how it can be mounted, here are some examples of how the Starband dish is mounted. There are also other pictures which relate to the Starband equipment.
 Starband
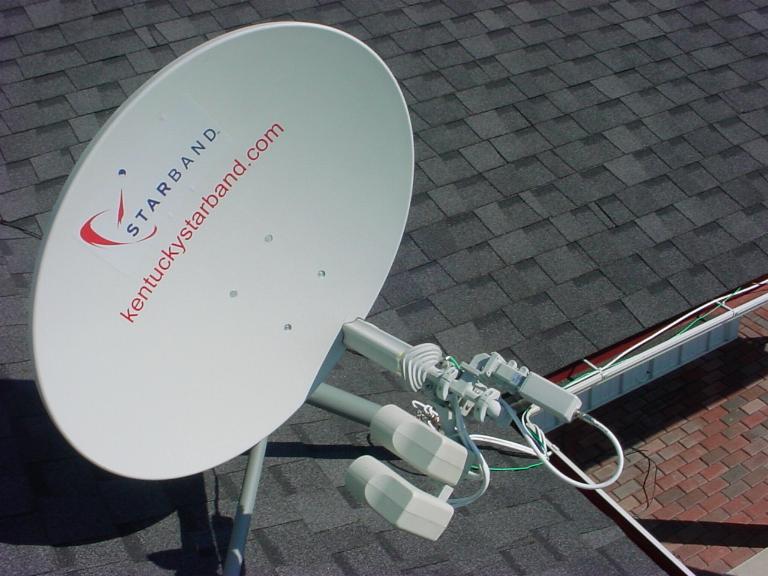
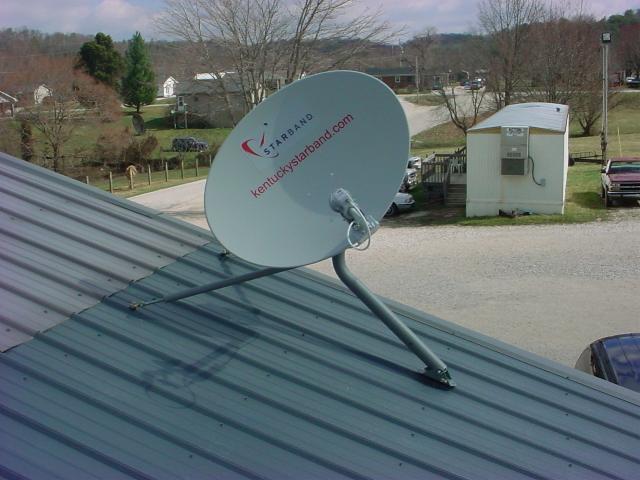
dish close-up roof application. DishNetwork DBS kit attached. Starband
dish close-up roof application. DishNetwork DBS kit attached. |
|
 Starband
dish compared to a Dish Network 500 satellite dish. Starband is slightly
larger than Dish Network and Directv satellite dishes. Starband
dish compared to a Dish Network 500 satellite dish. Starband is slightly
larger than Dish Network and Directv satellite dishes. |
|
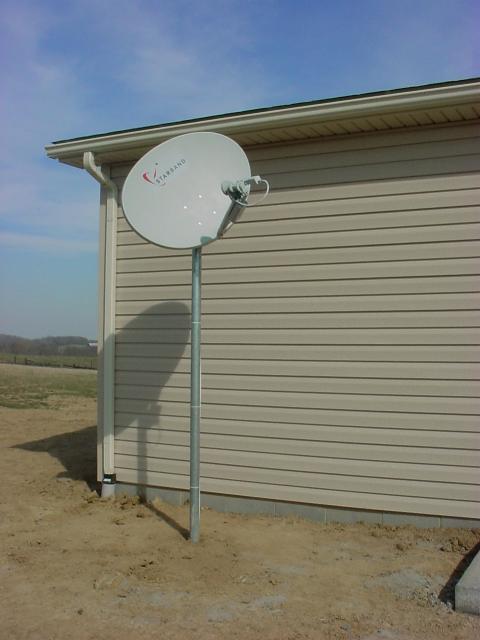 Pole
mount installation. Pole
mount installation. |
|
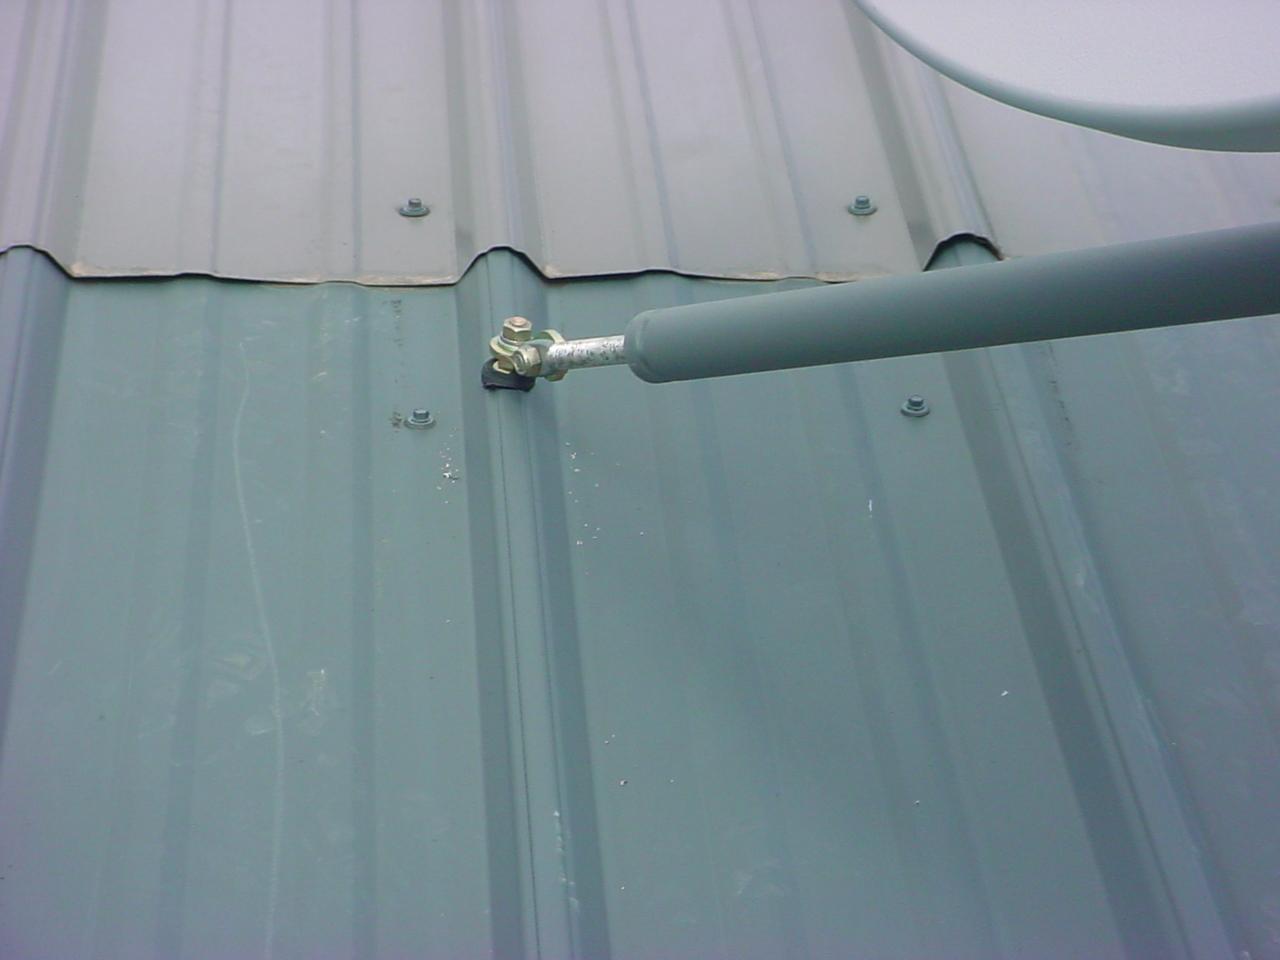 All
mounts that are attached to roofs are guaranteed not to leak. Lifetime
sealant is applied to all lag bolts and hardware. All
mounts that are attached to roofs are guaranteed not to leak. Lifetime
sealant is applied to all lag bolts and hardware. |
|
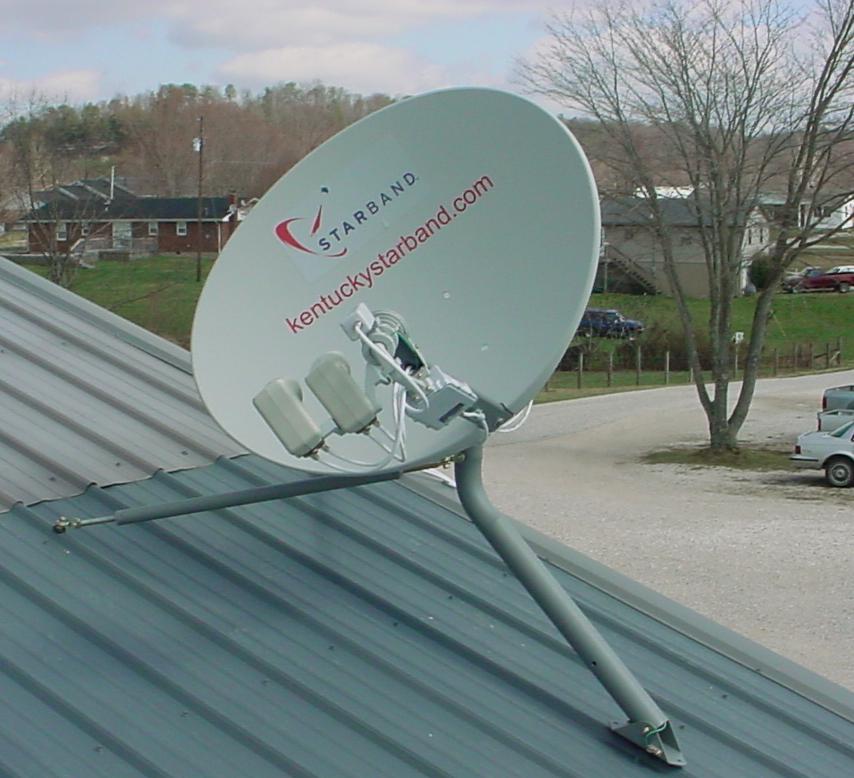 |
The Starband to the left is without the Dishnetwork DBS kit and the Starband on the right has the DBS kit. The DBS kit is for Dish Network programming. Instead of having 2 satellites, they can be combined into a ONE dish solution. |
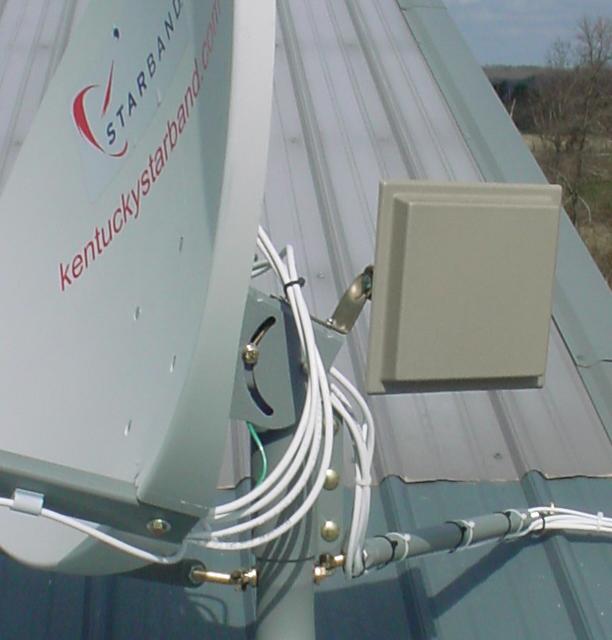
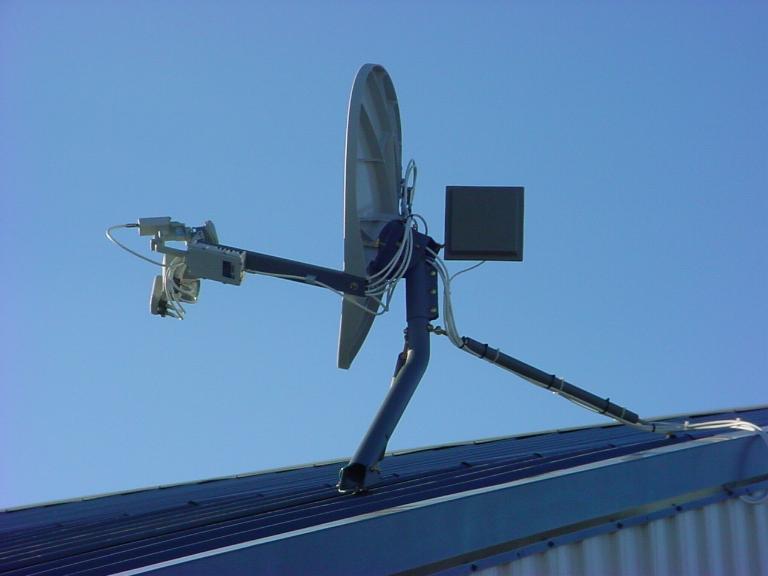 To
the right of the dish (or behind) you see a wireless antenna. You can
extend you LAN (Local Area Network) to WLAN (Wireless Local Area Netwok),
to communicate to other buildings or houses to share your Internet
connection or network. To
the right of the dish (or behind) you see a wireless antenna. You can
extend you LAN (Local Area Network) to WLAN (Wireless Local Area Netwok),
to communicate to other buildings or houses to share your Internet
connection or network. |
|
|
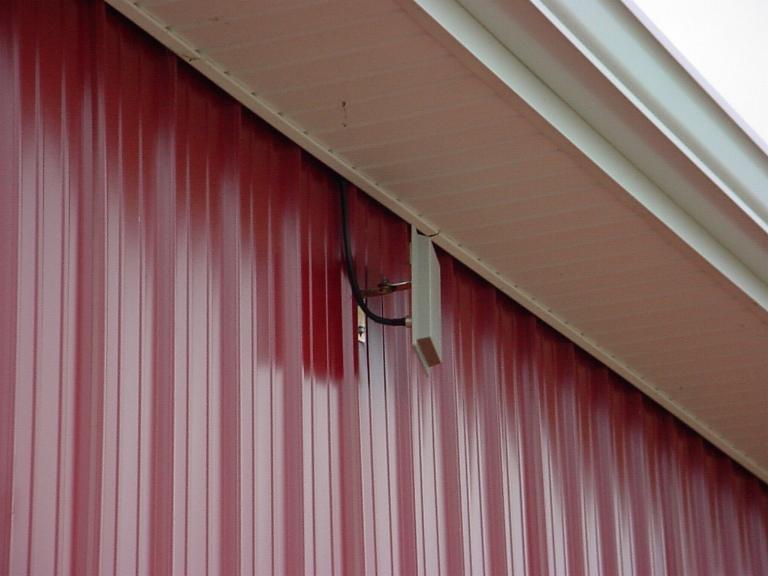
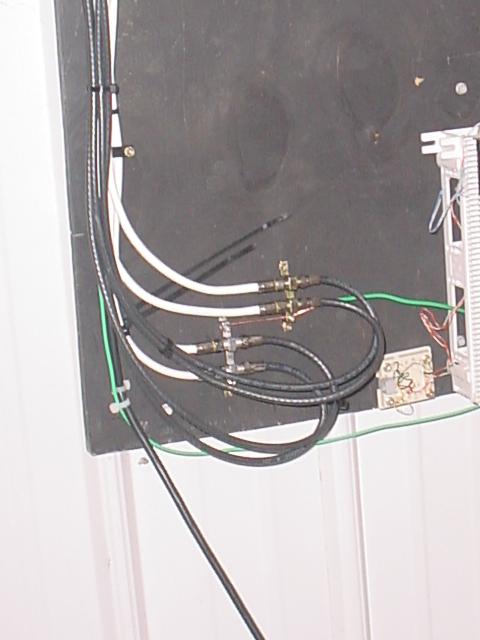
Panel antenna attached
to a mount. Low loss cable is used for long cable runs. These are 3
different mounting options.
|
| Starband application to a shingled roof.
|
  |
 Grounding
of the VSAT system. Grounding
of the VSAT system.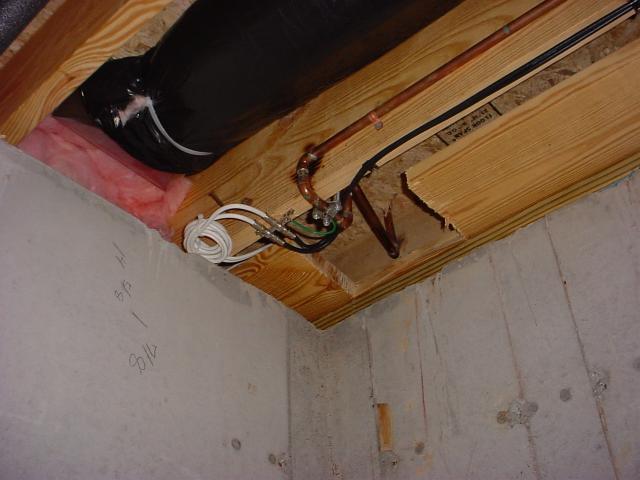 |
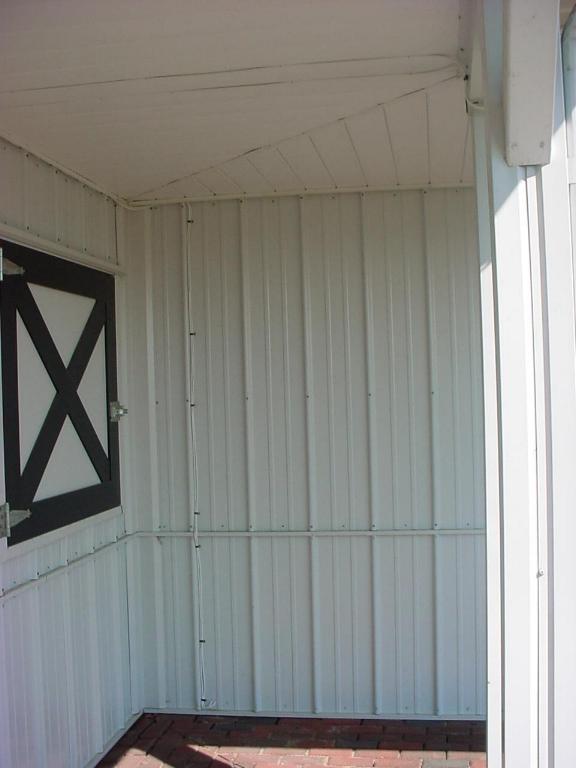 Cables
are ran clean and as neat as possible. Cables
are ran clean and as neat as possible. |
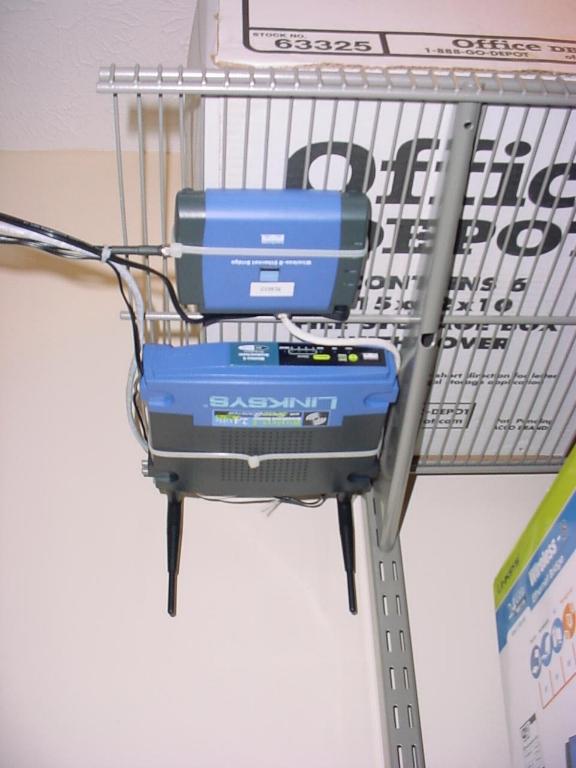 Wireless
router and bridge used to extend wireless connection to other locations. Wireless
router and bridge used to extend wireless connection to other locations. |
|
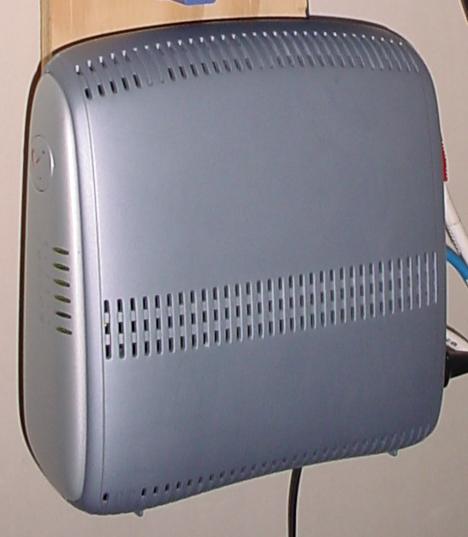 This
is the Starband modem. It will be located inside your location. Can be
connected directly to you computer or wireless router so you can use
your wireless laptop if you would like. This
is the Starband modem. It will be located inside your location. Can be
connected directly to you computer or wireless router so you can use
your wireless laptop if you would like. |
|